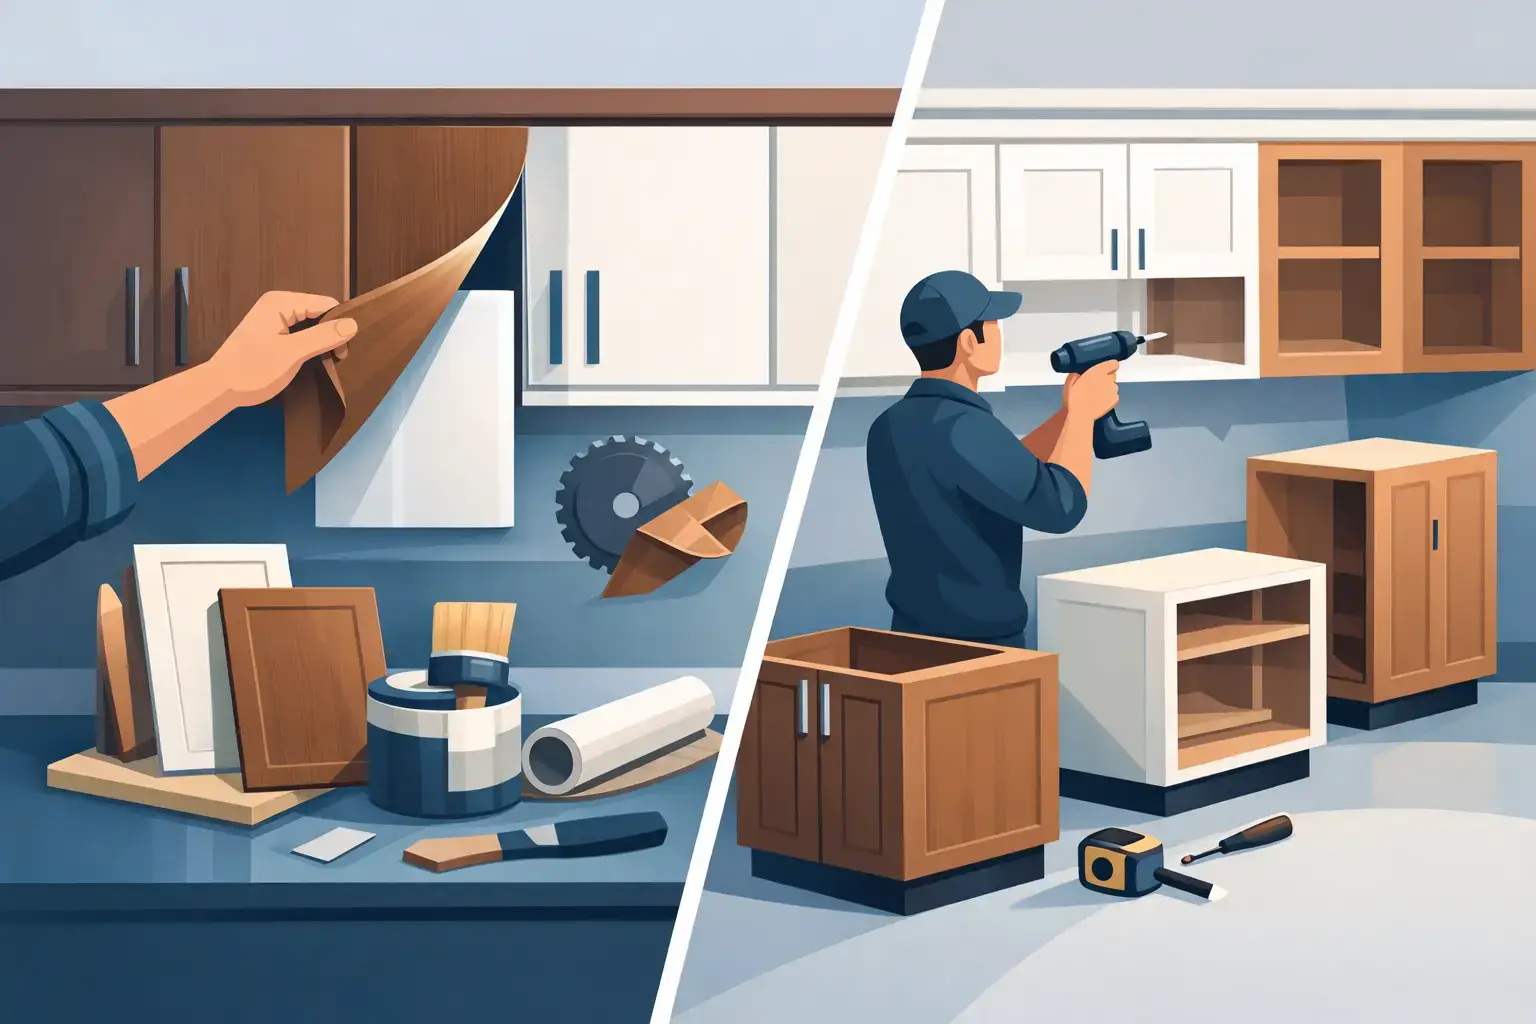
A fresh cabinet color can make an older kitchen feel cleaner, brighter, and more current without changing the layout that already works for your family. But a good result is not as simple as picking a paint chip. This kitchen cabinet paint guide explains what homeowners should consider before painting cabinets, from surface preparation and paint choice to the point where refinishing or refacing may be the better value.
For many Northeast Ohio homeowners, the goal is practical: improve a worn kitchen without taking on the price, mess, and disruption of a full replacement. Cabinet paint can help, but only when the existing cabinet boxes and doors are in sound condition and the work is done carefully.
Start With the Condition of Your Cabinets
Before choosing a color, take an honest look at what is already in the kitchen. Paint changes appearance. It does not correct sagging doors, loose hinges, damaged veneer, water-swollen cabinet boxes, or drawers that no longer operate properly.
Solid wood doors in good shape are often strong candidates for painting or professional refinishing. Cabinets with a dated stain, light surface wear, or an orange-toned finish can look entirely different with the right preparation and coating. Minor dents and small scratches can usually be addressed during the prep work.
Laminate, thermofoil, and heavily damaged surfaces require more caution. These materials can be painted in certain cases, but adhesion is the issue. If the surface is peeling, bubbling near the sink, or separating at the edges, paint may only hide the problem for a short time. A professional should inspect whether the material can be properly prepared or whether new doors, refacing, or replacement makes more sense.
Cabinet boxes matter just as much as doors. If the layout works, the boxes are sturdy, and storage is adequate, keeping them can save a great deal of money. If the boxes are damaged or the kitchen no longer functions for how your household lives, a color change alone may not be enough.
Kitchen Cabinet Paint Guide: Choose the Right Finish
Most homeowners focus on color first. Color matters, but sheen and coating quality will have more to do with how the cabinets wear over time. Kitchen cabinets deal with fingerprints, cooking residue, moisture, cleaning, and daily bumps. Wall paint is not designed for that job.
A cabinet-grade enamel, urethane-acrylic product, or another coating made for cabinetry is generally the right direction. These finishes cure harder than ordinary interior latex paint and are easier to clean. The best product depends on the door material, the existing finish, and the application method.
For sheen, satin and semi-gloss are the most common choices. Satin has a softer appearance and can be forgiving of minor surface imperfections. Semi-gloss reflects more light, wipes down easily, and gives a more traditional painted-cabinet look, but it can show dents, brush marks, and uneven areas more readily.
Flat finishes are usually a poor fit for kitchen cabinets. They can look attractive at first, but they are harder to wash and more likely to show scuffs. Very high gloss can be durable and striking, though it requires exceptionally smooth preparation because every flaw catches the light.
Color Choices That Hold Up Well
White and warm off-white cabinets remain popular because they brighten kitchens and work with many countertops and floors. In homes with limited natural light, a soft white can make the room feel more open without looking harsh.
Greige, light taupe, and muted mushroom tones bring warmth while staying neutral. These colors often work well in Northeast Ohio homes with oak flooring, beige tile, or traditional trim. They also tend to hide everyday marks better than bright white.
Deep blue, charcoal, forest green, and black can add character, especially on an island or lower cabinets. The trade-off is that dark colors show dust, fingerprints, and chips more easily. They can also make a small kitchen feel heavier if used on every cabinet. Many homeowners get a better balance by keeping upper cabinets light and using a darker color below.
Always view samples in the actual kitchen. A color that looks clean under store lighting can turn yellow, gray, or much darker under your home’s lighting. Check it in morning light, evening light, and with the lights you normally use while cooking.
Preparation Is What Makes Paint Last
The difference between a cabinet finish that lasts and one that starts chipping early is usually preparation. Good paint cannot overcome grease, slick factory coatings, loose material, or rushed sanding.
First, doors, drawer fronts, and hardware should be removed and labeled. Labeling may sound minor, but it prevents a frustrating reinstall later, especially in kitchens where doors are not all the same size. The cabinet frames should be protected, cleaned, and prepared separately.
Every surface needs thorough degreasing. Cabinets near ranges collect oils that are not always visible. If that residue remains, primer and paint may not bond correctly. After cleaning, surfaces are sanded or otherwise prepared to create the right profile for adhesion. Chips, dents, open seams, and hardware holes are repaired before primer goes on.
Primer is not an optional shortcut around prep. On stained wood, it helps block tannins that can bleed through a light color. On slick surfaces, the proper bonding primer gives the finish a foundation to grip. Depending on the cabinet material, more than one primer coat may be needed.
Professional spraying usually produces the smoothest, most even result on doors and drawer fronts. It also requires controlled conditions, proper masking, ventilation, and experience with the product. Brushing and rolling can work for some projects, particularly cabinet frames, but it takes the right tools and a careful hand to avoid texture and lap marks.
Respect Drying and Curing Time
Dry to the touch is not the same as cured. Freshly painted cabinets may feel dry within hours but remain vulnerable to dents, sticking doors, and cleaning damage for days or weeks. Temperature, humidity, and the coating itself all affect curing time.
That matters in Ohio, where a damp summer week or a cold stretch can slow the process. Avoid reinstalling hardware too quickly, slamming doors, or scrubbing the finish before the manufacturer’s recommended cure period has passed. A little patience protects the work you paid for.
When Painting Is Not the Best Answer
Painting is a sensible option when you like your kitchen’s layout and the cabinet structure is solid. It is not automatically the lowest-cost or longest-lasting solution in every situation.
If doors are cracked, warped, peeling, or made from a material that will not hold a coating reliably, cabinet refacing may offer a better result. Refacing keeps sound cabinet boxes but replaces the doors and drawer fronts, while updating the visible exterior surfaces. It can give the kitchen a more complete change, including a different door style, without the cost of tearing out every cabinet.
Professional cabinet refinishing can also be a stronger option than a do-it-yourself paint job when quality and durability are priorities. Proper cleaning, sanding, repairs, priming, spraying, and controlled application take time. The work is detailed, and shortcuts often show up later around handles, door edges, and high-use areas.
Replacement is worth considering when the boxes are failing, the layout wastes valuable space, or you need major changes such as a larger pantry, better drawer storage, or a new appliance arrangement. A trusted contractor should explain these choices plainly rather than pushing every kitchen toward the same service.
Plan for the Details Around the Paint
Cabinet color is only one part of the finished look. Old hinges, worn pulls, and mismatched knobs can make newly painted cabinets feel unfinished. Updating hardware is a relatively simple way to reinforce the change, but measure carefully. New handles may not match existing hole spacing, which can mean filling and drilling holes before painting.
Countertops, backsplash, flooring, and wall color should be considered before you commit. You do not need to remodel the entire kitchen at once, but the cabinet color should work with what is staying. Bring home samples and place them next to the countertop, backsplash, and flooring rather than judging them on their own.
Think about how you use the kitchen, too. A busy household with children, pets, and frequent cooking may benefit from a mid-tone cabinet color and durable finish that is easy to wipe clean. A lightly used kitchen can allow for more decorative choices. There is no single best color or sheen for every home.
Kitchen Perfect has spent more than 25 years helping local homeowners weigh practical updates against full replacement. The right recommendation starts with the condition of your cabinets, your budget, and how much change you want to see when the job is complete.
If your cabinet boxes are solid but the kitchen feels tired, do not assume replacement is your only path. A careful evaluation can show whether painting, refinishing, or refacing will give your home the improvement you want and the value you expect.