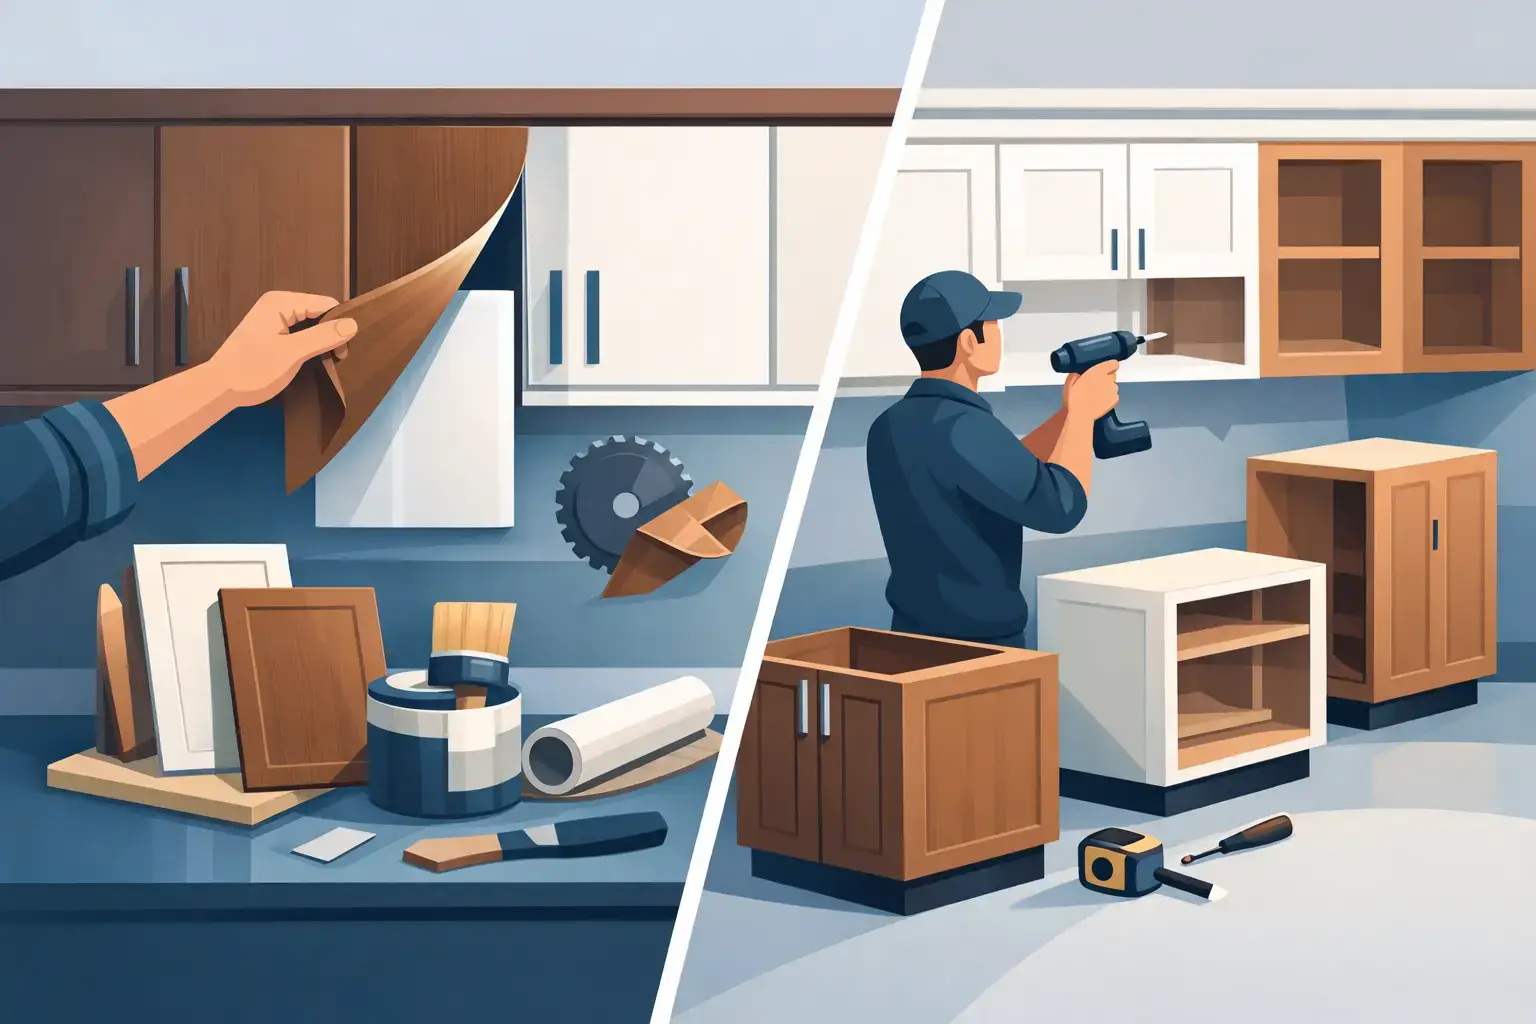
A new cabinet installation guide should start with one practical question: are your current cabinets truly beyond saving? For many Northeast Ohio homeowners, the answer determines whether new cabinetry is the right investment or whether refacing or refinishing can deliver the look they want for far less. If the cabinet boxes are damaged, poorly laid out, or no longer meet your storage needs, new cabinets may be the better long-term choice.
New cabinetry can completely change how a kitchen works. It also requires more planning than most homeowners expect. The best results come from getting the layout, measurements, materials, and installation sequence right before the first old cabinet comes off the wall.
When New Cabinets Make Sense
Cabinet replacement is usually worth considering when the existing boxes have water damage, sagging shelves, broken frame joints, severe warping, or an awkward layout that cannot be corrected with doors and drawer fronts alone. It also makes sense when you want to move appliances, add an island, create a pantry wall, or gain usable storage where there was once wasted space.
On the other hand, solid cabinet boxes in a layout you already like may be good candidates for refacing. Keeping the existing boxes can reduce cost, shorten the job, and avoid unnecessary demolition. There is no one answer for every kitchen. A good contractor should look at the condition of the cabinets honestly and explain both paths.
If you decide on replacement, treat it as a working plan rather than a simple shopping trip. Cabinet style matters, but fit and function matter every day after the project is finished.
New Cabinet Installation Guide: Start With the Layout
A cabinet plan should follow how your household uses the kitchen. Think about the route between the refrigerator, sink, and cooking area. Consider where groceries land when you come home, where trash and recycling belong, and whether more than one person needs room to cook.
Keep clear walking space around islands and peninsulas. A narrow passage can make a larger kitchen feel crowded, while an oversized island can block appliance doors or interrupt traffic. In many homes, preserving a functional layout and improving the cabinets within it is the most cost-conscious decision. In others, a small layout adjustment makes a major difference.
Storage deserves the same attention as door style. Deep drawers are often more useful than lower cabinets with fixed shelves. Pullout trash storage keeps a busy kitchen cleaner. A pantry cabinet can solve the overflow that otherwise ends up on countertops. Corner cabinets need a realistic plan, too, since they can become hard-to-reach dead space without the right hardware or shelving.
Before finalizing the layout, confirm the locations of plumbing, gas, electrical outlets, vents, and heating runs. Moving these items is possible, but it adds time and cost. Sometimes the right choice is to work around existing utilities. Sometimes a better kitchen is worth the added work. The key is knowing the trade-off before installation begins.
Measure More Than Once
Cabinets are built and installed around real walls, not perfect drawings. Older homes especially can have floors that slope, walls that bow, and corners that are not square. Those conditions are common and manageable, but they must be identified early.
A professional measurement should document the width and height of each wall, window and door openings, ceiling height, appliance sizes, soffits, plumbing locations, and floor changes. Measurements should be taken in more than one place along a wall because a room can vary from top to bottom. A single incorrect measurement can lead to filler problems, poor appliance clearance, or cabinets that do not fit as planned.
Do not order cabinets based only on a rough tape measure or a listing from an old appliance. Confirm the actual dimensions of the refrigerator, range, dishwasher, microwave, and hood before cabinet sizes are finalized. A new refrigerator may be deeper than the old one, and its doors need enough room to open without striking an island or adjacent wall.
Choose Materials That Fit the Budget and the Job
New cabinets come in many price ranges, and the lowest quote is not always the best value. Look at the cabinet box construction, drawer slides, hinges, shelf thickness, finish quality, and warranty. These are the parts that affect daily use long after the first impression of new doors has worn off.
Plywood construction can offer strength and moisture resistance, while furniture-grade particleboard can be a reasonable choice in the right application and budget. Solid wood doors have a traditional look and can be refinished, but they may expand and contract with seasonal humidity. Painted MDF doors create a smooth, consistent finish, though sharp impacts can be harder to repair. There is no perfect material for every kitchen.
For families who want a practical upgrade, it often makes sense to put money into durable hardware and smart storage first, then select a door style and finish that fits the remaining budget. Soft-close hinges and full-extension drawers are not just sales features. They make cabinets easier to live with and help reduce wear over time.
Prepare the Room Before Installation Day
A cleaner installation begins with good preparation. Empty all cabinets, remove countertop appliances, and create a temporary kitchen space if the project will keep the room out of service. Store dishes, food, and daily essentials in labeled boxes so they are easy to find.
The work area should be protected from nearby rooms as much as possible. Cabinet removal and wall preparation can create dust, especially if old flooring, backsplash, or soffits are involved. A professional crew should use floor protection, contain debris where possible, and keep the site organized. Homeowners should also plan for access to the driveway, garage, or entry door so materials can be moved safely.
Before the old cabinets are removed, resolve any known issues with leaks, electrical concerns, or damaged subflooring. Installing beautiful new cabinets over a water problem only postpones a more expensive repair. This is also the right time to decide whether flooring will run under the cabinets or stop at the cabinet footprint. Both approaches can work, but the sequence must be planned around the flooring material and future replacement needs.
What a Proper Cabinet Installation Looks Like
Installation begins with establishing a level reference line. Floors are rarely perfectly level, so base cabinets are shimmed and adjusted until they are level and aligned with one another. Wall cabinets must be secured into solid framing, not simply attached to drywall. Finding and using studs correctly is essential because wall cabinets carry significant weight once dishes and food are loaded inside.
The usual sequence is to install wall cabinets first, then base cabinets. This gives the installer clear access to the wall without base cabinets in the way. Cabinet boxes are clamped together, checked for plumb and level, and fastened so door and drawer gaps remain even. Fillers, end panels, crown molding, and toe kicks are installed after the main cabinets are aligned.
Countertops generally come after base cabinets are set and checked. Template measurements for stone countertops should not be rushed. If cabinets shift even slightly after a template is made, the countertop fit can suffer. Plumbing fixtures, appliances, backsplash, and final trim follow in an order that protects finished surfaces and allows each trade to do its work properly.
Do Not Skip the Final Walk-Through
Before considering the job complete, open every door and drawer. Check that doors do not rub, drawers glide properly, and handles are placed consistently. Look at reveals between doors, the fit of fillers and trim, caulk lines, and cabinet alignment at walls and ceilings. Test appliance clearances and make sure plumbing connections are dry after the sink is installed.
A few minor adjustments are normal after installation. Hinges may need fine tuning, and doors can settle as the home changes with temperature and humidity. What matters is having a contractor who stands behind the work and handles those details instead of disappearing after the last cabinet is installed.
For homeowners in North Royalton and nearby communities, Kitchen Perfect brings more than 25 years of hands-on experience to cabinet projects, with much of the work handled directly through its own cabinet shop. That helps keep workmanship and costs under closer control.
The right new cabinets should make your kitchen easier to use, easier to maintain, and more enjoyable to come home to. Start with a realistic plan, ask direct questions about materials and installation, and choose a local team that treats the final fit as carefully as the first measurement.