
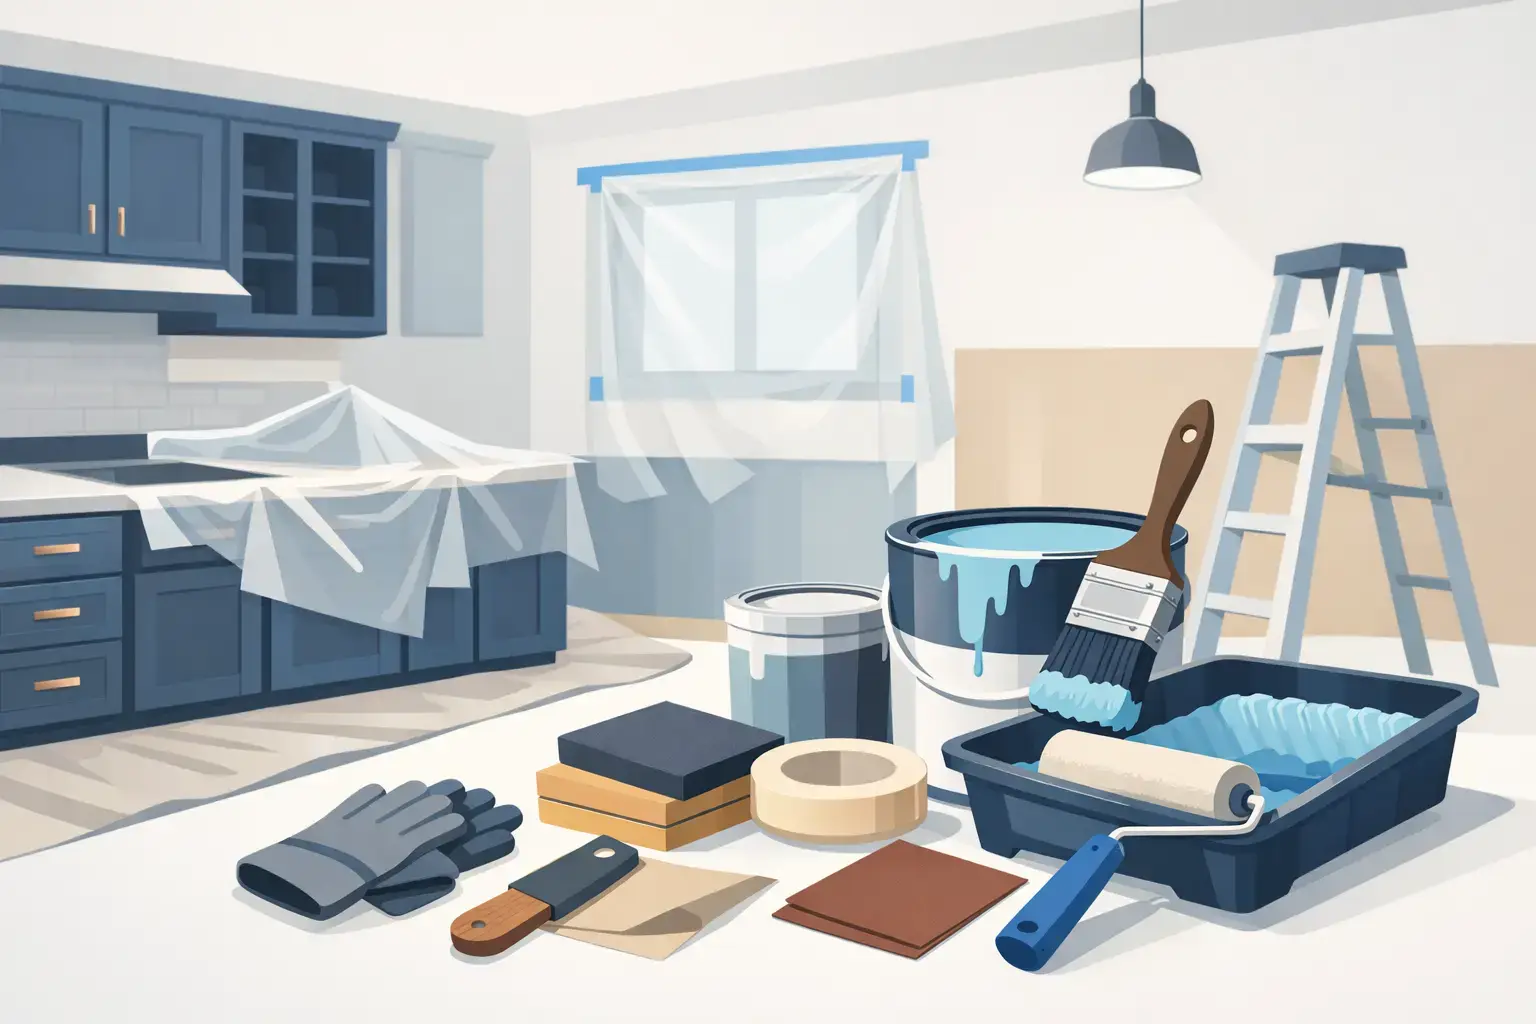
Cabinet paint usually fails where a kitchen works hardest: around handles, near the sink, beside the range, and along drawer edges. The finish can look good on day one but chip, peel, or show rough spots later if the prep work was rushed. Knowing how to prepare for cabinet painting helps you protect the time and money you put into updating your kitchen.
For homeowners in North Royalton and throughout Northeast Ohio, cabinet painting can be a practical way to brighten an older kitchen without tearing out cabinets that still function well. The key is being honest about the cabinet condition before paint is ever opened. Good paint can improve the look of a sound cabinet box. It cannot make loose doors, water damage, failing veneer, or years of grease disappear on its own.
Start With an Honest Cabinet Check
Open every door and drawer before deciding that painting is the right next step. Look for doors that rub, hinges that pull loose, drawer fronts that are separating, and cabinet boxes with swelling near the sink or dishwasher. A little wear is normal. Soft particleboard, delaminating veneer, or major water damage is a different problem and may require repair, refacing, or replacement of specific components.
Pay attention to the material, too. Solid wood and many previously painted cabinets can be good painting candidates. Laminate, thermofoil, and slick factory finishes can also be painted, but they demand more careful cleaning, scuffing, and the right bonding primer. Thermofoil that is peeling away from the doors is often not worth painting unless the damaged areas can be properly repaired first.
This is also the time to decide whether your current layout still works. Painting is a smart value choice when you like the cabinet arrangement and storage but want a cleaner, more current appearance. If you need more drawers, different cabinet heights, or major changes to the kitchen layout, cabinet refacing or new cabinetry may offer a better long-term result.
Empty, Label, and Protect the Kitchen
Cabinet painting is much easier when the kitchen is cleared out completely. Remove dishes, food, small appliances, shelf liners, and anything stored in the cabinets. It is tempting to work around a few items, but dust and paint overspray have a way of finding what was left behind.
Take doors, drawer fronts, knobs, pulls, and hinges off whenever possible. Label each door and drawer as it comes off. A small piece of painter’s tape inside the opening and a matching label on the door can save a lot of confusion when it is time to reinstall everything. Put hardware and screws in labeled bags so parts do not get mixed up.
Protect countertops, appliances, flooring, and nearby rooms before sanding begins. Use drop cloths where people will walk and plastic sheeting where dust needs to be contained. Cover countertops fully, especially if they are stone, laminate, or recently installed. If the kitchen connects directly to a living area, plan for dust control and limit foot traffic through the work zone.
A professional crew should also protect the home beyond the cabinets themselves. Clean work areas, careful masking, and a clear plan for where doors will be finished matter just as much as the paint color. The prep process can be inconvenient for a few days, but it should not feel like the rest of the house has been taken over.
Clean More Than You Think You Need To
The most common cabinet painting problem is poor adhesion caused by grease, cooking residue, furniture polish, or cleaner left on the surface. Kitchen cabinets collect a thin film over time, even when they appear clean. Upper doors near the range and cabinet faces around handles are usually the worst areas.
Start by vacuuming loose dust from seams and corners. Then wash every surface with a degreasing cleaner suitable for cabinets. Work in small sections, using clean cloths and changing them when they become dirty. Rinse according to the cleaner’s directions and allow the cabinets to dry fully.
Do not assume a quick wipe with soap and water is enough. It may be fine for lightly used cabinets, but a kitchen that has seen years of cooking often needs a dedicated degreaser. At the same time, avoid soaking cabinet edges or exposed particleboard. Too much water can cause swelling that creates more repair work.
Repair the Details Before Sanding
Once the cabinets are clean and dry, small defects become easier to see. Fill old hardware holes if you are changing from knobs to pulls or moving the location of existing hardware. Use a quality wood filler for nail holes, dents, chips, and minor cracks. For deeper damage, several thin applications are usually better than one thick patch that can shrink or crack.
Tighten loose hinges and repair stripped screw holes. If a door is warped, badly cracked, or damaged by moisture, replacing that door may be more sensible than trying to hide the issue under paint. Check the cabinet face frames and toe kicks as well. These areas take plenty of abuse and are easy to overlook.
Caulk small gaps where trim pieces meet, but do not caulk every joint in sight. Doors and drawer fronts move, and excessive caulk can split later. Use paintable caulk only where a stationary seam needs a cleaner finished look.
Sand for Adhesion, Not Just Appearance
Sanding is not about taking every cabinet down to bare wood. In most cases, the goal is to dull the existing finish so primer has something to grip. A medium-fine grit sanding sponge or sandpaper works well for broad, flat areas, while edges and routed details may need hand sanding.
Sand evenly and avoid grinding through thin veneer. If you expose bare wood in spots, that is manageable, but it may require additional primer attention. For cabinets with a heavy factory coating, laminate surface, or glossy paint, a more thorough scuff sanding is especially important.
After sanding, vacuum the cabinet boxes, doors, and drawer fronts carefully. Then wipe surfaces with a tack cloth or a clean, lint-free cloth recommended for paint prep. Dust left in corners or on door profiles can create a rough finish that stands out under kitchen lighting.
Prime Based on the Cabinet Surface
Primer is where many cabinet painting jobs either gain durability or lose it. The best choice depends on the existing cabinet material and finish. Bare wood may need a stain-blocking primer, especially if knots, tannins, or dark wood tones could bleed through. Slick laminate and factory-finished doors need a bonding primer designed to hold onto difficult surfaces.
If the cabinets have nicotine staining, water marks, or stubborn wood discoloration, do not expect paint alone to cover the problem permanently. A proper stain-blocking primer gives the topcoat a more even base and prevents old stains from coming back through.
Always allow primer to dry and cure as directed before sanding lightly for a smooth surface. Rushing between coats is a common source of drag marks, dents, and finish problems. Temperature and humidity affect drying time, which matters in Northeast Ohio garages, workshops, and homes that may be cool during part of the year.
Plan Around the Kitchen Being Out of Routine
Before paint day, set up a temporary kitchen area if possible. Keep a coffee maker, microwave, paper goods, and a few daily essentials outside the work zone. Plan simple meals and expect that you may not have full use of the kitchen while doors, drawers, and cabinet boxes are being finished.
Freshly painted cabinets also need time before normal use. Paint may feel dry to the touch well before it has fully cured. Reinstalling hardware too soon, stacking dishes immediately, or slamming doors can leave marks in an otherwise good finish. Follow the coating manufacturer’s cure-time guidance, even if the kitchen looks ready.
Know When Painting Is Not the Best Answer
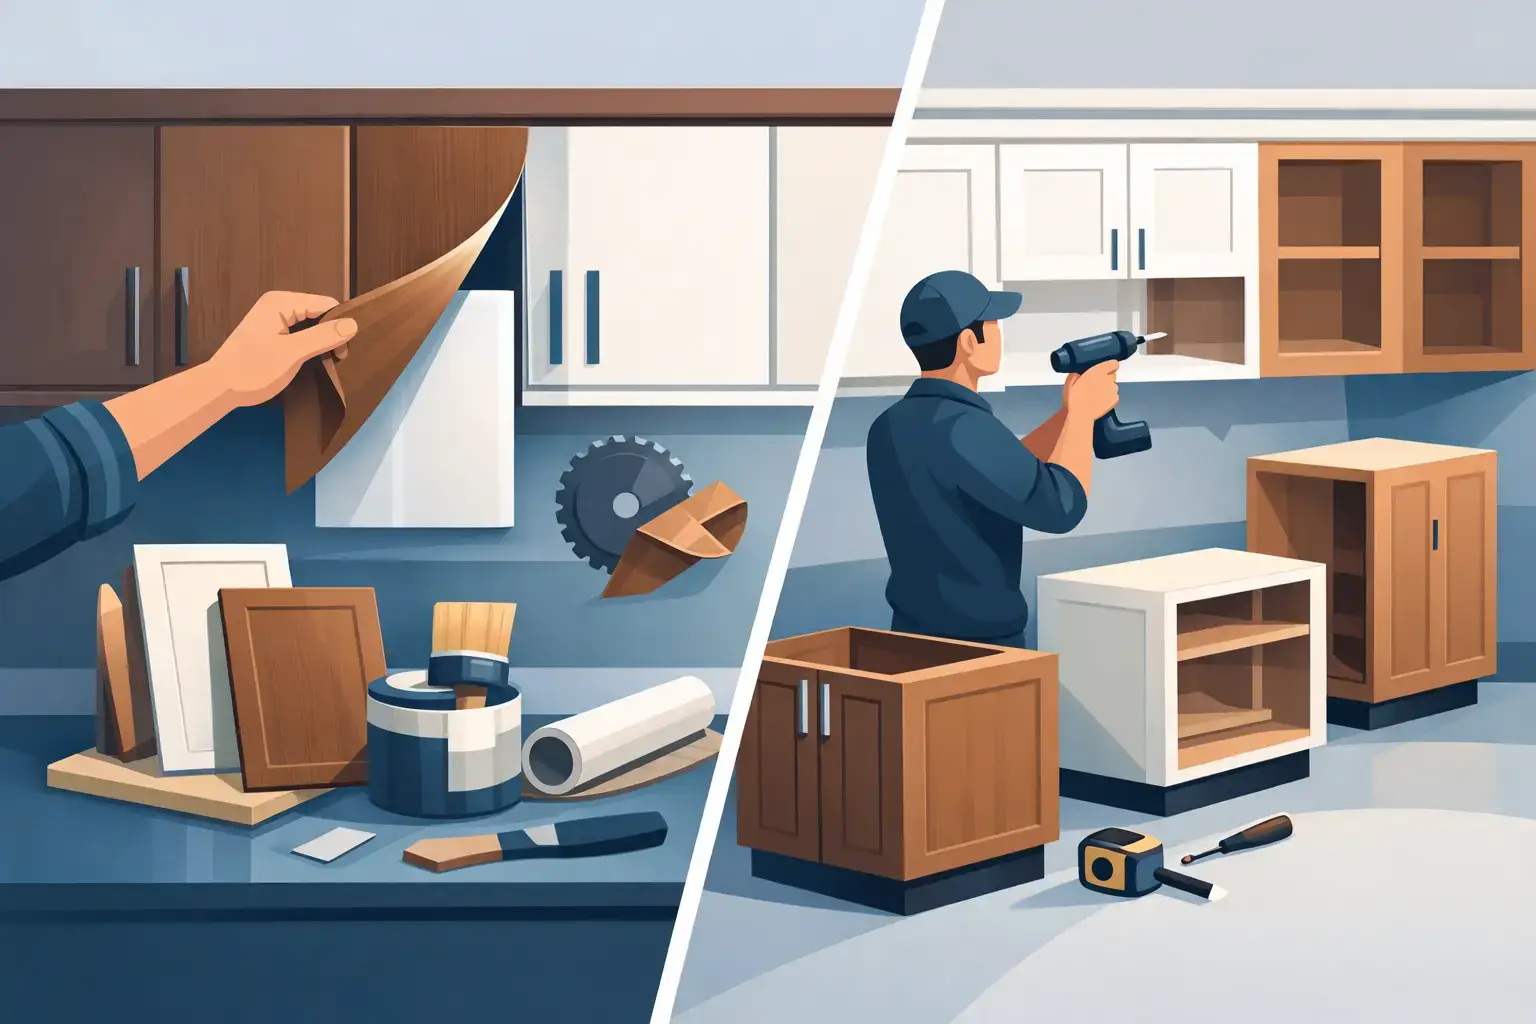
Painting is a strong option for cabinets that are structurally sound, function well, and simply look dated. It is not always the best fit for homeowners who want a new door style, better storage, or a more dramatic change in the room. Refacing can provide new doors and drawer fronts while keeping usable cabinet boxes in place, often at a lower cost and with less disruption than a full replacement.
That is why a careful evaluation comes first. Kitchen Perfect has spent more than 25 years helping local homeowners sort out whether refinishing, refacing, or new cabinetry makes the most sense for their kitchen and budget. The right answer should be based on the condition of your cabinets, not on a one-size-fits-all sales pitch.
A well-prepared cabinet painting project starts before the first coat and continues until the finish has time to cure. Give the work the patience it deserves, and your kitchen can look refreshed without paying for changes you do not truly need.

Pingback: How Long Does Cabinet Refinishing Last in a Kitchen? - Kitchen Perfect
Pingback: Is Cabinet Refinishing Messy? What to Expect - Kitchen Perfect